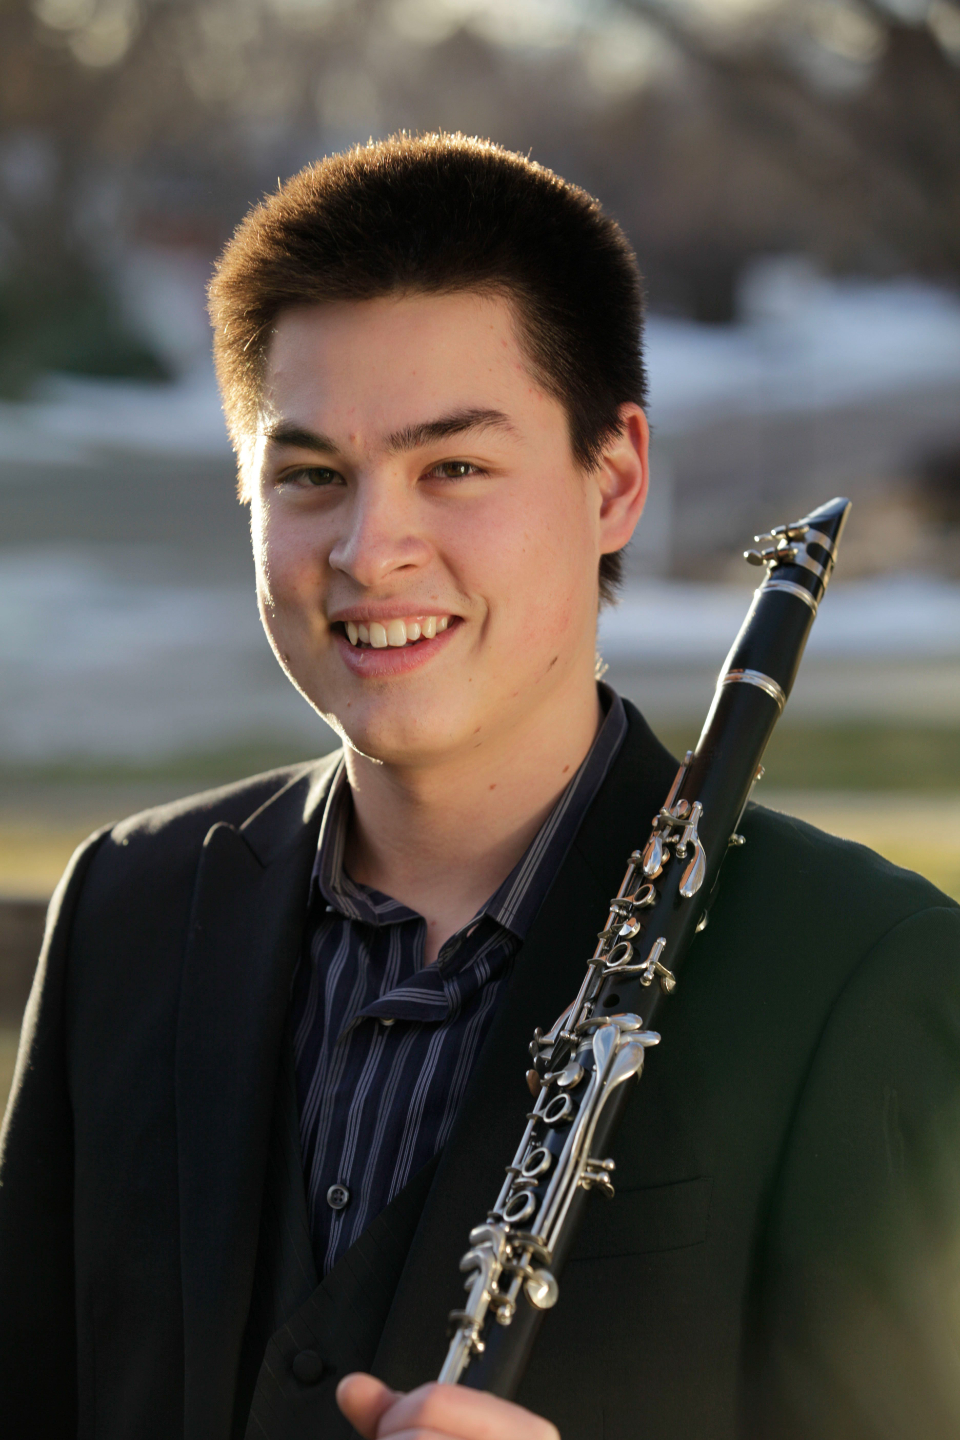
Clarinet Lessons for Beginners: Everything You Need to Start Playing Right
By Josh Goo | QuickStart Clarinet
So you're looking into clarinet lessons for beginners because you want to learn the clarinet. Maybe something drew you to it, a song you heard, a band you watched, or just that feeling deep down that this is the instrument for you. Whatever brought you here, I'm so glad you're here, and I want you to know something right away...
You can do this.
I know it might feel a little overwhelming right now. There are lots of things to figure out like, what clarinet to get, how to hold it, how to actually make a decent sound without squeaking, how to read music, how to practice...the list can feel endless. But that's exactly why I built QuickStart Clarinet and why I'm writing this guide for you!
My whole mission is to simplify the complex. To give you the things I wish I had known much earlier in my own journey, so you can skip the frustration and get straight to the joy of playing. So let's learn to play right, now!
Table of Contents
- What to Know Before You Start
- Choosing the Right Clarinet for Beginners
- Essential Gear Every Beginner Needs
- How to Assemble the Clarinet
- How to Hold the Clarinet (Posture & Hand Position)
- How to Make Your First Sound (Embouchure Basics)
- The First Notes Every Beginner Should Learn
- How to Read a Fingering Chart
- How to Build a Practice Routine That Actually Works
- Common Beginner Mistakes (and How to Avoid Them)
- When to Start Clarinet Lessons
- Free Resources to Start Your Clarinet Journey
1. What to Know Before You Start
Before we dive into the how-to stuff, I want to give you a little mindset check-in. This is something I think is just as important as any technique tip.
Learning clarinet is a journey, and not a linear one.
When I first started clarinet lessons as a beginner, I told my band teacher I was going to be the best clarinetist ever. I definitely didn't know how much I didn't know! And you know what? That's totally fine. No matter your age, we all start at the beginning. The key is that we keep going on the good days and the bad days.
Here's what to expect as a beginner:
- The first sounds will not be pretty. That's normal. It takes time for your embouchure (the shape of your mouth around the mouthpiece) and fingers to get coordinated. Squeaks are a rite of passage!
- Progress is not always linear. Some days will feel great. Some days will feel like you forgot everything you learned. Trust the process.
- The fundamentals are everything. I can't say this enough. Players who skip the fundamentals always hit a wall later. Players who patiently pursue perfection on the simple things make the fastest progress!
If you begin playing the clarinet with realistic expectations and a growth mindset, you are already ahead of the game. Let's get started!
2. Choosing the Right Clarinet for Beginners
One of the first questions every beginner asks is: What clarinet should I buy?
Here's the short answer: You want a student-model Bb (B-flat) clarinet.
The Bb clarinet is the standard starting point. It's what you'll play in school band, it's what most beginner method books are written for, and it's the foundation for almost everything else in the clarinet world.
What to look for in a beginner clarinet:
- Material: Beginner clarinets are typically made of ABS plastic resin. This is actually great for beginners because plastic is much more durable, less sensitive to humidity changes, and more affordable than wood. Save the wood clarinet for when you're ready.
- Brand reputation: Stick to brands with a solid reputation for student instruments. Brands like Yamaha, Buffet, Jupiter, and Selmer are commonly recommended.
- Avoid "cheap" clarinets from unknown sellers. I know it's tempting to grab the cheapest thing you can find online, but a very cheap clarinet that doesn't play in tune or falls apart in a month is not a bargain, it's a source of frustration that might make you want to quit!
New vs. Renting:
If you're not sure yet whether the clarinet is the instrument for you, renting is a fantastic option. Many music stores offer rent-to-own programs. This is especially smart for younger students. If you stick with it and love it (you will!), you can apply your rental payments toward a purchase.
If you're committing and ready to buy, expect to spend somewhere between $300-$700 for used and $1,200-$1,800 for new to get a solid beginner clarinet. Yes, there are cheaper options. Yes, I still recommend avoiding them.
My personal choice would be a Backun Alpha!*
3. Essential Gear Every Beginner Needs
The clarinet doesn't come alone. Here's a quick rundown of what you'll also need as a beginner:
The Must-Haves:
- Reeds — The clarinet makes sound through a thin piece of cane wood called a reed. Beginners should start on a size 2-3 reed (Juno, Vandoren, or D'addario are great brands). You should expect to have at least 4 reeds to rotate through and break-in about 2 per month.
- Mouthpiece — Most clarinets come with a mouthpiece, but not all are good. The Backun Protégé is my favorite (and comes with the Backun Alpha clarinet). The Yamaha 4C and Fobes Debut are other great student mouthpieces.
- Ligature — This is the metal or fabric clamp that holds the reed to the mouthpiece. Most clarinets come with one, but replacements are easy to find, and the ligature doesn't matter too much.
- Cork grease — You'll apply this to the joints of the clarinet (only as needed!) so they assemble smoothly without damaging the cork.
- Swab — After every time you play, you'll pull a swab through your clarinet to remove moisture. Microfiber is the best material for swabs and you should swab the body of the clarinet and your mouthpiece, but do them separately.
Nice to Have:
- Music stand — Please don't prop your music up on something sketchy. A simple folding stand is inexpensive and makes a real difference.
- Metronome & Tuner — A metronome and tuner are one of the most powerful practice tools you have. Even a free app on your phone works great!
4. How to Assemble the Clarinet
Before you can play a single note, you have to put the thing together! Assembling a clarinet is one of those things that feels a little nerve-wracking the first few times and then becomes completely second nature. Here is the order I recommend (though I personally do the opposite order):
Two important tips before you start:
1. Always hold each joint by the body, not by the keys, when you are assembling or disassembling. Pressing on a key at the wrong angle is one of the most common ways beginners accidentally bend something.
2. Use cork grease as often as needed, but always put just a bit on and rub it in/rub off the excess so it isn't building up.
And if you are more of a visual learner, here is a video on it.
Step 1: Start with the bell and lower joint. Gently twist the bell onto the lower joint with a slight back-and-forth rocking and twisting motion. Never force it straight on or you risk bending a key. The goal is a smooth, firm fit.
Step 2: Attach the upper joint to the lower joint. This is the trickiest step because of the bridge key, the small metal connection between the two joints that links a key on the upper joint to a key on the lower joint. Before you connect them, use your left hand to press down the rings on the top of the upper joint to lift the bridge key out of the way. Then carefully twist the two joints together and make sure the upper joint bridge key is sitting on top of the lower joint bridge key. If it gets bent, notes in the middle of the clarinet will not play correctly. Take your time here!
Step 3: Attach the barrel. This one is easy. Just twist the barrel onto the top of the upper joint. Make sure all of the keys are lined up in a straight row from top to bottom.
Step 4: Attach the mouthpiece to the barrel. Twist the mouthpiece onto the top of the barrel. The flat side of the mouthpiece (where the reed goes) should face toward the bottom of the clarinet, lined up with the thumb rest and the register key on the back.
Step 5: Wet the reed. You can also do this before step 1, but at some point, put both ends of the reed in your mouth for about 30 seconds to get it just a bit moist. A properly moistened reed vibrates much better and gives you a better sound right away.
Step 6: Set up the mouthpiece. You can either put the reed on first then carefully slide the ligature over it (this is what I do), or put the ligature on first and then carefully slide the reed under it. Either way, be careful with the thin tip of the reed since it chips very easily. Then tighten the ligature screws just enough to hold the reed firmly but do not over-tighten, as that will choke the sound.
Now, you are assembled and ready to go!
5. How to Hold the Clarinet (Posture & Hand Position)
I'm going to be real with you here: posture and hand position matter a lot more than most beginners realize. The good habits you build right now will save you enormous frustration later. The bad habits you build right now can actually limit your progress for years.
So let's do it right from the start!
Posture:
- Sit (or stand) up straight with your shoulders relaxed.
- Hold the clarinet at roughly a 30–45 degree angle from your body. Think of it as pointing down and slightly forward, not straight out horizontal and not straight down between your legs.
- Your head should remain upright. Bring the clarinet up to your face. Don't drop your face down to the clarinet.
Right Hand (Bottom):
- Your right thumb goes underneath the thumb rest.
- Your right-hand fingers (index, middle, ring) cover the three main tone holes on the lower joint.
- Your right pinky operates the keys below.
- Keep your fingers curved and relaxed, and don't squeeze the clarinet too hard.
Left Hand (Top):
- Your left thumb covers the hole on the back of the clarinet and operates the register key (that little key above the thumb hole).
- Your left-hand fingers (index, middle, ring) cover the tone holes and keys on the upper joint.
- Your left pinky operates the keys on the side of the lower joint.
Here is a video with my favorite hand position exercise.
The #1 Hand Position Mistake Beginners Make:
Not fully covering the holes. Keep your hands relaxed and natural then think about putting the high point of the pad of your fingers right in the center of the holes. If your fingers are too flat, too curved, or pressing too hard you will struggle to get a secure seal.
6. How to Make Your First Sound (Embouchure Basics)
This is the moment everyone is both excited and nervous about. Here's the truth: making your first sound on the clarinet is easier than you think, if you know what to do.
What is embouchure?
Embouchure (pronounced "AHM-buh-shure") is the way you use your lips and facial muscles to produce sound on a wind instrument. On the clarinet, getting your embouchure right is a key skill to develop as you get started.
The Mouthpiece & Barrel Exercise:
To start making a sound, practice on just the mouthpiece and barrel. This is how I recommend every beginner start. It removes all the other variables and lets you focus purely on your air and embouchure.
Here's how:
- Put about 1/2 inch of the mouthpiece in your mouth. Not a tiny bit, not the whole thing. Your bottom lip should be right around the point on the reed where it comes in contact with the mouthpiece.
- The top of the mouthpiece should anchor into your top teeth. A mouthpiece cushion will make this more comfortable.
- Your bottom lip flattens against your bottom teeth and provides a solid surface for the reed to vibrate against.
- The corners of your mouth gently squeeze the sides of the mouthpiece, almost like you're saying a really exaggerated "EEEWWW". This creates a seal.
- Now blow a steady, fast, stream of air like you're blowing out birthday candles, but really smooth and sustained.
You should hear a clear, pitched tone on just the mouthpiece. If you hear a squawk, you probably have too much mouthpiece in your mouth. If you hear barely anything, or a thin and pinched sound, you may need more air, less biting pressure, more mouthpiece in your mouth, or all of the above. Keep exploring and experimenting until you get a nice sound.
As a bonus, if you have your tuner out you should get roughly a concert F#. If it is a bit sharp that is fine. If it is flat, try faster and narrower air.
Once You Have a Sound:
Add the rest of the clarinet. The process is the same: good posture, curved fingers, good embouchure, steady air. When you can consistently produce a clear open tone (the note G on the clarinet), you're ready to start covering tone holes and learning your first notes!
7. The First Notes Every Beginner Clarinetist Should Learn
With your embouchure in place and the sound going, it's time to actually play some notes!
Here's a recommended order for learning your first notes on the Bb clarinet:
Start Here:
- Open G (no fingers down, no keys pressed on the left hand) — a great first note because there's nothing to press. Just blow!
- F — cover the hole under your left thumb
- E — add your left-hand index finger
- D — add your left-hand middle finger
- C — now add your left-hand ring finger
These five notes give you enough to start playing simple melodies. Think "Hot Cross Buns," "Mary Had a Little Lamb," and many simple tunes.
8. How to Read a Fingering Chart
Once you are comfortable with those first notes and ready to learn more, we can dig into one of the most useful tools for a brand new player: a fingering chart.
A fingering chart is a visual diagram of the clarinet that shows you exactly which keys and holes to cover for each note. It is basically a map of your instrument, and it is all you need to start figuring out notes on your own.
A clarinet fingering chart shows a simple diagram of the clarinet from a front view, with the keys and tone holes drawn out. Each hole or key is shown as either filled in (meaning you cover it) or open (meaning you leave it open). Some charts also show the side and back keys with symbols or separate diagrams.
When you look up a note, you just match what the chart shows to your fingers and hands on the actual instrument. That's it!
A few things to keep in mind:
- The left hand always goes on top (closer to the mouthpiece) and the right hand always goes on the bottom. If you ever get confused about which is which, the thumb rest on the back of the lower joint is where your right thumb lives.
- The register key on the back is controlled by your left thumb. Many notes in the upper register are the exact same fingering as a lower note, just with the register key added.
- When a chart shows a note like "Bb" it may also list it as "A#." They are the same note, just two different names for it. You will see both depending on the piece of music you are looking at.
Where to find a good one:
Search "Bb clarinet fingering chart" and you will find plenty of free options. You can also find my favorite fingering chart with annotations for which fingerings are best in my Free Members Area. I recommend printing one out and keeping it on your music stand while you are first learning. As you get more comfortable with the instrument, you will find yourself needing it less and less, but there is no shame in referencing it! Even experienced players look things up when they encounter a note they have not played in a while.
Once you feel comfortable navigating a fingering chart, that is a great time to start exploring how to read standard music notation, since being able to read notes on a staff will open up a whole world of music for you. But for right now, we will stay focused on the clarinet playing side of things.
9. How to Build a Practice Routine That Actually Works
Here's something I believe deeply: quality practice beats quantity every single time.
It doesn't matter if you have 20 minutes a day or an hour. What matters is how you use the time you have. I've seen students who practice for 30 focused minutes every day improve dramatically faster than students who spend an unfocused hour just running through their pieces over and over.
Here are some thoughts to get you started:
Organize Your Practice:
- Set Goals. Know what you're working toward. "I want to play through 'Ode to Joy' cleanly by Friday" is a goal. "Get better at clarinet" is not. Be specific.
- Plan Your Time. Have a rough structure for your practice session. Start with a warm-up, work on fundamentals, tackle the hard stuff, then integrate it back into context with performance practice. Get in, get out, make progress.
- Always Warm Up. No matter how little time you have, do not skip your warm-up. Even five minutes of long tones and scales will help you get calibrated and set up everything else in your practice for success.
Simplify The Hard Stuff:
- Slow Down. When something is hard, slow it down more than you think you need. So slow that it feels boringly easy. This gives your brain the space to actually process what's happening and notice the mistakes you're making.
- Break It Down. Don't just run the whole piece. Find exactly what is tricky and isolate it. Just the fingering transition? Just the rhythm? Just the dynamic change? Practice that one thing.
- Build It Back Up. Once you've worked on something slowly and in isolation, gradually put it back together. Speed up gradually. Add back the context. But maintain the improvements you made!
Mindset in the Practice Room:
- Less Is More. Three repetitions of one phrase done correctly is worth infinitely more than running a full piece sloppily. Choose quality.
- Don't Leave Mistakes. If you hear a mistake and keep going, you're literally learning to make that mistake. Notice it, isolate it, fix it.
- Explore the Details. I love this one. Practice is way more fun when you think of yourself as a detective piecing together a performance. Be curious!
- Trust the Process. Progress isn't always visible day to day. But if you practice with clear intention and real focus, you will improve. Do the work and trust it.
A Simple Beginner Practice Template (25–30 Minutes):
- 3 minutes: Long tones (hold each note steady and listen to the tone)
- 4 minutes: Scales or exercises from your method book
- 3 minutes: Articulation getting the tongue moving with good sound quality
- 10–15 minutes: Work on your assigned piece or the specific hard spots in it
- 5 minutes: Play something just for fun, or practice performing without stopping
That's it. Simple, focused, done. If you want to go deeper, check out my Practice Manifesto!
10. Common Beginner Clarinet Mistakes (and How to Avoid Them)
I've taught a lot of students, and there are patterns to the mistakes I see most often. Here are the big ones, and more importantly, how to avoid them.
Mistake #1: Biting the Mouthpiece
This is probably the single most common beginner problem. When the sound gets airy or you're trying to get higher notes, the instinct is to squeeze harder with your jaw. Resist this! Biting creates a thin, pinched, unpleasant tone and causes embouchure fatigue. Focus on firm corners and a steady, fast stream of air instead.
Mistake #2: Not Fully Covering the Holes
If you are squeaking a lot, this is likely the problem. Keep your fingers relaxed and make sure they land securely on the holes to get a full seal.
Mistake #3: Skipping the Warm-Up
No matter how much of a hurry you're in, warm-up first. Long tones and slow scales build tone quality, intonation, and embouchure strength in ways that just running your music never will.
Mistake #4: Playing on Bad Reeds
Reeds can last a long time, but they are always gradually breaking down as you play them. If you play on only one reed at a time in about a month it will be much softer. Try to rotate through at least 4 reeds so they don't all get old at once, and if your reed is chipped or cracked you should start a new one. The only way to have good reeds is to go through more reeds!
Mistake #5: Ignoring the Metronome
The metronome can feel like your enemy. I get it. But if the metronome is driving you crazy, it's not the metronome's fault. It's revealing that your rhythm isn't as locked in as you thought. Slow down and do smaller chunks to find where you can play in sync with the click then build from there. The metronome is your friend, and learning to love it is one of the biggest breakthroughs you'll have as a clarinetist.
Mistake #6: Practicing Faster Than You Can Play
Speed is not the goal of practice. Accuracy is. If you practice something at a tempo where you're making mistakes, all you're doing is getting really good at making those mistakes. Slow is smooth, smooth is fast.
11. When to Start Clarinet Lessons as a Beginner
Having a good teacher will accelerate your progress significantly.
A great clarinet teacher catches the bad habits before they get cemented. They give you immediate, personalized feedback that no video or blog post can replicate. They hear things in your playing that you can't hear yourself. They keep you accountable and help you stay on track when you feel stuck.
That said, I also know that not everyone has access to a private teacher. Whether it's because of finances, geography, time, or all three. That's a big reason why I do what I do at QuickStart Clarinet: to bring high-quality clarinet instruction to everyone, wherever they are.
If you're looking for a teacher, here's what to look for:
- Someone with actual performing and/or teaching experience on the clarinet specifically
- Someone who can explain why they're asking you to do something, not just what to do
- Someone you feel comfortable asking questions and making mistakes in front of
- Someone who meets you where you are, not where they expect you to be
Even a few lessons at the very beginning, just to establish a good foundation with the technique, embouchure, and tone production, can save you months of frustration down the road.
12. Free Resources to Start Your Clarinet Journey
You don't have to figure this out alone. Here are some of the best free resources to help you get started:
Right Here at QuickStart Clarinet:
- Free Members Area — Sign up for free to get access to my best beginner resources, organized in one easy-to-navigate place. Over a year's worth of tips, guides, and tools are waiting for you.
- QuickStart Clarinet YouTube Channel — Nearly weekly videos on everything from tone production to rhythm to mindset. Subscribe and turn on notifications so you never miss one.
- Mini Strategy Session — Meet with me to get a quick analysis of where your playing is at and what would be the most effective next step on your unique journey!
Beyond QuickStart:
- Your local music store — They can help with instrument selection, rentals, and often have lesson referrals.
- Your school's band program — If you're a student, this is an incredible free resource with built-in community. Don't underestimate it, and don't be shy about asking your teacher questions.
I'm so excited for you to begin playing the clarinet and reaching your goals! Happy Practicing!
*All links to Sweetwater products are affiliate links that help support my work at no extra cost to you!
About Me
Hi, my name is Josh Goo! I have over a decade of experience teaching the clarinet at universities, online, privately, and more. Additionally, I've maintained an active performance schedule playing with symphonies, bands, chamber groups, and as a soloist.
After years of gaining all of this experience, and studying with some of the greatest clarinet pedagogues in the world at places like Northwestern and the Aspen Summer Music Festival, I am so excited to be sharing it all with you in simple and straight-forward ways that will bring less frustration and more joy to your clarinet journey!
Check out some of my favorite resources to make your clarinet playing easier and more enjoyable:
All-In-One Method Program for Self-Study
https://www.quickstartclarinet.com/nextgenmethod
Go Deep and Become a Confident Clarinetist
https://www.quickstartclarinet.com/confidentclarinetistsclub
Get My Best Free Resources in One Place
https://www.quickstartclarinet.com/getstarted
Find tips on just about any clarinet, music, or practice topic by searching YouTube for "QuickStart Clarinet [insert your question]"